


Introduction to DIY Aluminum Anodizing
Ever wondered how to give aluminum parts that cool, durable, and colorful finish? The secret is a process called anodizing. It’s a super interesting metal finishing technique that not only makes aluminum look awesome but also seriously boosts its resistance to corrosion and everyday wear and tear. Whether you're a hobbyist looking to add a splash of color to your bike parts, a maker creating custom electronic casings, or just want to protect metal surfaces from the elements, you can learn how to anodize aluminum right in your own workshop. This guide will walk you through the complete aluminum anodizing process, step by step.

What Exactly is Anodizing Anyway?
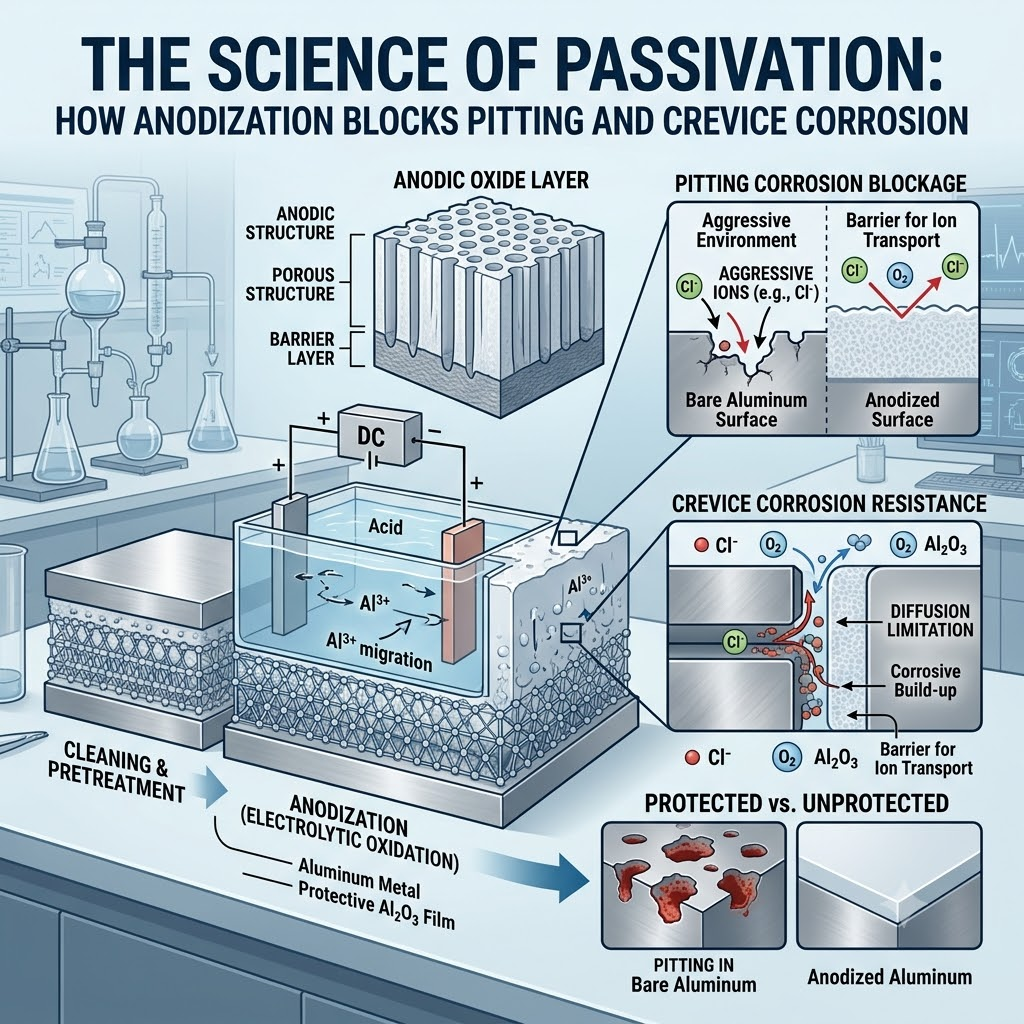
At its core, anodizing aluminum is an electrochemical process that transforms the metal's surface. Think of it as giving the aluminum a super-strong, built-in protective shell. The process involves dipping the aluminum part into a special liquid bath, called an acid electrolyte bath, and then passing an electric current through it. This causes the surface to oxidize, creating a tough layer of aluminum oxide. Unlike paint or other surface coatings that just sit on top, this anodic oxide layer is fully integrated with the aluminum underneath. That means it’s incredibly durable and won't chip, peel, or flake off. It's a true conversion coating.
The Cool Science Behind the Anodizing Process
So, how does this magic happen? The anodizing process is all about controlled oxidation. When you pass an electrical current through the setup, it forces the aluminum surface to react with the acid. This reaction builds up a thickened oxide layer that is naturally hard and porous. These tiny pores are the key to adding color. Because the layer is porous, it can easily absorb special anodizing dyes. You can control the thickness of this anodic coating by tweaking the time and the amount of electrical current, giving you precise control over the final result.
Different Flavors: Types of Anodizing
There isn't just one way to anodize. The most common types you'll hear about are Type I (Chromic Acid Anodizing), Type II (Sulfuric Acid Anodizing), and Type III (Hard Anodizing). Here’s a simple breakdown:
Type I (Chromic Acid): This is an older method, often used in aerospace for its excellent corrosion resistance, especially on parts with tight tolerances.
Type II (Sulfuric Acid): This is the most popular and versatile type, perfect for most DIY projects. It creates a great surface for dyeing and offers a good balance of durability and aesthetic appeal.
Type III (Hard Anodizing or Hard Coat): This is the heavy-duty option. It creates a much thicker, denser, and harder oxide layer that's perfect for industrial applications or parts that need maximum wear resistance, like pistons or hydraulic gear.
Anodizing vs. Other Finishes like Paint
You might be thinking, "Why not just paint it?" While painting and powder coating are great for adding color, anodizing is in a league of its own. Because the anodized layer is part of the metal itself, it can't flake off. This integration gives it superior abrasion resistance and longevity. It’s a finish that’s meant to last, providing a more professional and robust surface treatment for any aluminum project.
Top Reasons to Anodize Your Aluminum Parts
Aluminum is already pretty good at resisting corrosion on its own, but anodizing takes that protection to a whole new level. Here are some of the biggest benefits:
Supercharged Durability
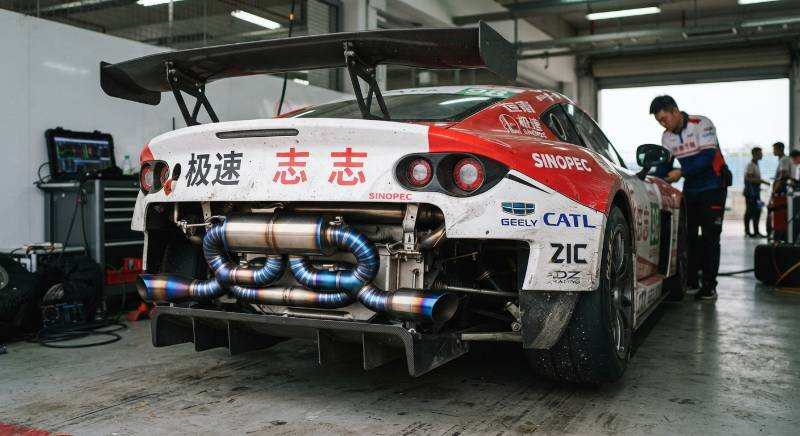
The anodized layer is significantly harder than raw aluminum. This added hardness acts as a protective shell against physical damage like scratches and scuffs. The incredible durability of anodized aluminum makes it a fantastic choice for products that see a lot of action, such as automotive parts, machinery, and high-use gadgets.
Awesome Corrosion Resistance
Anodizing dramatically improves aluminum's ability to fight off corrosion. The anodic layer acts as a tough barrier against moisture, salt, and other corrosive gunk. This is especially useful in marine environments or places with high humidity, where untreated aluminum might start to degrade over time.
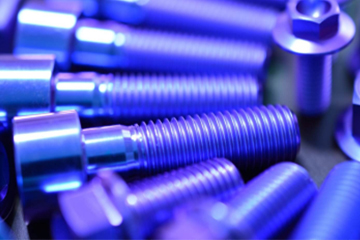
A Rainbow of Colors and a Sleek Look
One of the most exciting parts of anodizing is the ability to add vibrant, beautiful colors. The porous nature of the coating allows it to soak up dyes, opening up endless possibilities for customization. Whether you want a subtle metallic sheen, a brushed bronze look, or a bold, eye-catching red, anodizing delivers a professional finish that enhances the look of any product.
Good for Your Wallet and the Planet
Compared to other metal finishing processes, anodizing is relatively environmentally friendly. It produces minimal waste and doesn't release volatile organic compounds (VOCs). Plus, it's cost-effective in the long run. Its durability and low maintenance mean you won't have to spend money on frequent repairs or replacements.
Your Shopping List: Tools and Materials for DIY Anodizing
Ready to start your first DIY anodizing project? First, you’ll need to gather some essential tools and materials. Here’s what you'll need to set up your home anodizing station:
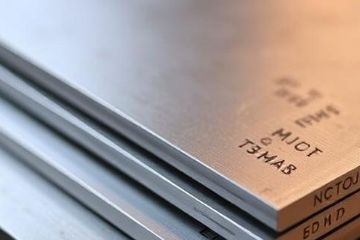
Aluminum Parts and an Anodizing Kit
First, choose the aluminum parts you want to anodize. Make sure they are completely clean and don't have any other coatings on them. For beginners, getting a complete anodizing kit is a great idea. These kits usually come with the anodizing solution (electrolyte), dyes, and other chemicals you'll need, simplifying the process by putting everything in one box.
Power Supply and a Container
You'll need a DC power supply, often called a rectifier, to provide the electricity for the process. A car battery charger can work for small parts, but a variable power supply gives you more control. You'll also need an acid-resistant container, like a sturdy plastic bucket (a 5-gallon bucket works well). It needs to be big enough to completely submerge your parts.
Cleaning and Safety Gear
A good degreaser (like Simple Green) is crucial for getting your parts squeaky clean. Most importantly, you need safety gear. This includes chemical-resistant rubber gloves, safety goggles, and an apron. It's also a good idea to have baking soda nearby to neutralize any accidental acid spills.
Optional Stuff for Custom Colors
If you want to color your parts, you'll need anodizing dyes. Many kits come with a variety of colors. You will also need plenty of distilled water for rinsing and for the final sealing step.
Safety First! Important Precautions

Anodizing involves electricity and acid, so you have to take safety seriously. Don't skip this part! Here are the essential precautions to follow:
Protective Gear and a Good Workspace
Always work in a well-ventilated area, like a garage with the door open or even outdoors, to avoid breathing in any fumes. Wear your safety goggles, gloves, and apron to protect your skin and eyes from acid splashes. A respirator is also highly recommended, especially when mixing chemicals.
Handling Acid and Electricity
Be extremely careful when handling the acid. A key rule is to **always add acid to water**, never the other way around, to prevent a dangerous chemical reaction. Make sure your electrical connections are secure to avoid any shocks or short circuits. Keep your hands dry when working with the power supply.
Be Prepared for Emergencies
Keep a box of baking soda handy. If you spill some acid, you can pour baking soda on it to neutralize it. Also, have a first-aid kit ready and know where the nearest source of running water is in case you need to rinse your skin or eyes.
The Step-by-Step Guide to Anodizing Aluminum
Step 1: Get the Aluminum Squeaky Clean
First, you need to clean your aluminum parts thoroughly to get rid of any grease, dirt, or oils. Even a single fingerprint can mess up the finish! Use a degreaser and scrub the part well. After cleaning, rinse it with distilled water to make sure there's no residue left.
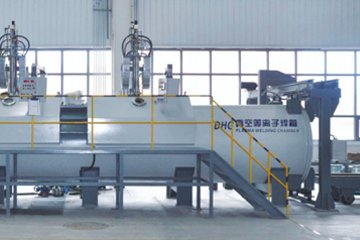
Step 2: Prepare the Anodizing Bath
In your plastic container, mix your anodizing solution. This is typically a 1:1 mixture of sulfuric acid (battery acid) and distilled water. Remember the safety rule: **pour the acid slowly into the water**. The container should be large enough for your part to be fully submerged without touching the sides or bottom.
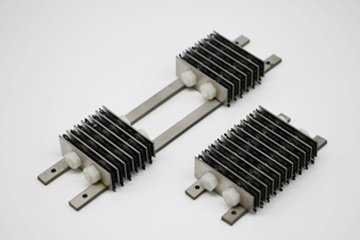
Step 3: Hook Up the Electrical Connections
Attach your aluminum part to a piece of aluminum or titanium wire. This wire will connect to the positive terminal (the anode) of your power supply. Then, connect a piece of lead or aluminum sheet (the cathode) to the negative terminal. Submerge both the part and the cathode in the acid bath, making sure they don't touch each other.
Step 4: Let the Bubbles Begin!
Turn on your power supply to start the anodizing process. You'll see bubbles forming around the part—this is the oxidation reaction happening! The time and power level will depend on the desired thickness of your anodic layer. A typical power soak can take anywhere from 30 to 60 minutes.
Step 5: Rinse and Neutralize
Once the time is up, turn off the power. Carefully lift the part out of the acid and rinse it thoroughly with distilled water. To neutralize any remaining acid, give it a quick dip in a baking soda and water solution for a few minutes, then rinse it again with distilled water.
Step 6: Time to Add Some Color (Optional)
If you want a colorful finish, now's the time to dye your part. Prepare a dye bath according to the instructions that came with your anodizing dye. Submerge your freshly anodized part in the warm dye solution and let it soak until it reaches the color you want. This can take about 15 minutes.

Step 7: Seal the Deal
To lock in that beautiful color and make the surface super durable, you need to seal the pores of the anodized layer. The easiest way to do this is to boil the part in distilled water for about 30 minutes. This step hydrates the aluminum oxide, closing the pores and creating a tough, stain-resistant finish.
Thinking About a DIY Anodizing Kit?
For anyone just starting out, DIY anodizing kits are a fantastic option. They make the process much more accessible for hobbyists and small-scale makers. These kits provide a cost-effective way to experiment with anodizing without needing to buy expensive industrial equipment.
Benefits of Using a Kit
A good kit simplifies the process by including pre-measured chemicals and user-friendly instructions. This ensures that even beginners can get great, repeatable results. When choosing a kit, look for one that offers a good range of dye colors and includes quality safety equipment.
Things to Keep in Mind
While DIY kits are great, they do have some limitations. The size of the tanks will limit the size of the parts you can anodize. You also might not have the same level of precise control as a professional setup. But for most home projects, a kit is more than enough to achieve a fantastic finish.
Troubleshooting Common Anodizing Problems
Sometimes, things don't go perfectly. Here are a few common issues and how to fix them:
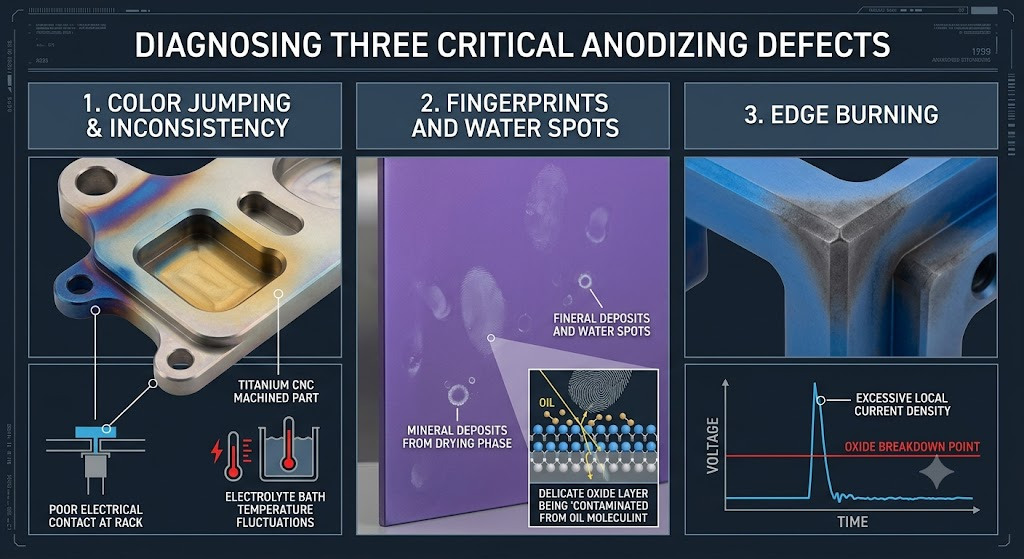
Uneven or Patchy Coating: This is usually caused by poor cleaning or a bad electrical connection. Make sure your part is perfectly clean and that your wires are making solid contact.
Pitting or Spots: This can happen if your acid bath is contaminated or if the part wasn't rinsed properly. Always use clean solutions and rinse thoroughly between steps.
Weak or Faded Color: If your color isn't as vibrant as you'd like, try increasing the dye concentration or letting the part soak for longer. Also, make sure you're sealing the part properly to lock in the color.
Conclusion: You're an Anodizing Pro Now!
Anodizing aluminum at home is a super rewarding project that adds both beauty and strength to your metal parts. By following the steps in this guide, you can get professional-quality results with your own DIY anodizing setup. Always remember to put safety first and be patient as you perfect your technique. With a little practice, you'll master the art of anodizing and enjoy creating durable, colorful, and amazing aluminum components. It's a fun blend of science and creativity that turns ordinary aluminum into functional art!